
If you would like to see how he was created have a look at the link here
So to set his stone "shell" I needed to use the setting tools and setting wax

I melted some setting wax and pushed him into it to keep him firm whilst I used the setting tools to slowly push the bezel edge around the stone. This takes a lot of patience care as if too much force is applied the bezel splits and too little and the stone can fall out.


Here he is all ready to wear.................

I am really pleased with how he turned out and he gets lots of comments when I wear him.


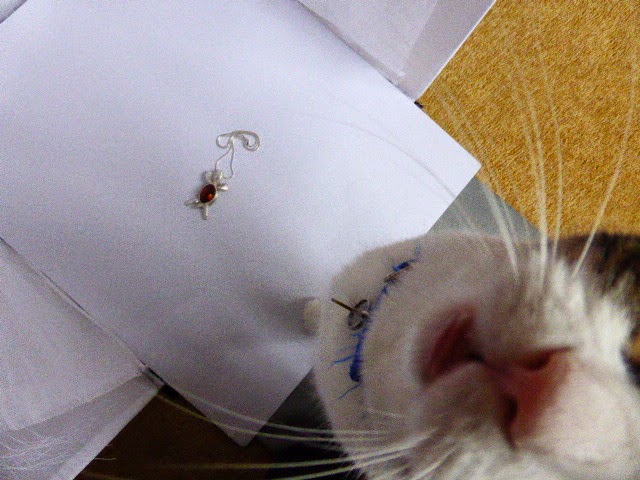


So from me and my photography assistant (not) I hope you enjoyed seeing my finished pendant.
I would like to enter my tortoise into the following challenge
Country View use something new to you I have used lots of new silversmithing skills to make my tortoise; mould making for the limbs which were then made in silver clay, creating a bezel and stone setting amber, which is very delicate and took a lot of care not to damage in the making.
So for today my card had to feature some kind of creature and this is what I am sharing, such a sweet little pup! It was a card for a man so I needed to keep the background quite grungy.


I coloured the image with my Promarkers and highlighted with Prismacolor pencil. The stamped tag sentiments are LOTV.
I would like to enter my card into the following challenges;
All dressed up anything goes
Natalie and Amy all things new my new is the lovely silver card, my digi and the Stickles glitter.
Noor!UK with love
Inspiration Journal fresh start my fresh start is to try to improve my male birthday card making.....I think that I have achieved it with this card, it's cute without being too cute and I love the inky background I made.
Crafty boots out with the old in with the new my in with the new is to make my own stencil using the my Cheery Lynn heart die.
Cute card ThursdaysWhat's new ...mine is the digi, silver card and the Stickles glitter.
Creative Inspirations finished with a bow
I love Promarkers new beginnings I am using my new silver card, digi and Stickles
Simon Says Stamp something new my new is making my own heart stencil using my Cheery Lynn heart die
Crafty ribbons let's get sentimental
I would like to welcome my recent new followers, it's great to see you joining me on my creative journey here at Jane's Journal. I also want to thanks my loyal followers who come back here every post and leave such kind comments. I really do love reading every single one. Huge hugs to you all.
Bye for now,
Jane x