Hi everyone today I am taking part in a "tricks and treats" feature over on the Visible Image blog. Myself and some of my fellow design team members are sharing lots of crafting "tricks" (hacks or tips) and some crafting "treats" with ideas to help you take your crafting to a different level. I came up with an idea of showing how an identical card design can look so different just using additional techniques. One card is a simple mixed media make, the second has a few more "treats" added. I even have a third card which uses the left overs. To make this post easy to refer to I have added all the "tricks" or "treats" in bold type as I take you through my step by step tutorial showing how all 3 cards were made
As it is autumn and nearly Halloween I kept to this theme when I chose my stamps and ink colours but you could use any stamp set and any colours. Below are the 3 cards I made, 2 with the identical leaf design and sentiment and a Halloween card I made with a leaf "left over".
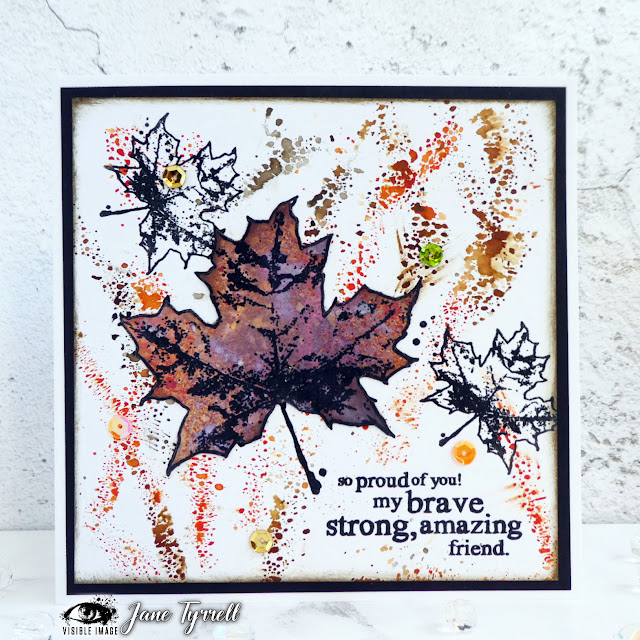
The leaf friendship cards were made using the lovely Erika's Maple set
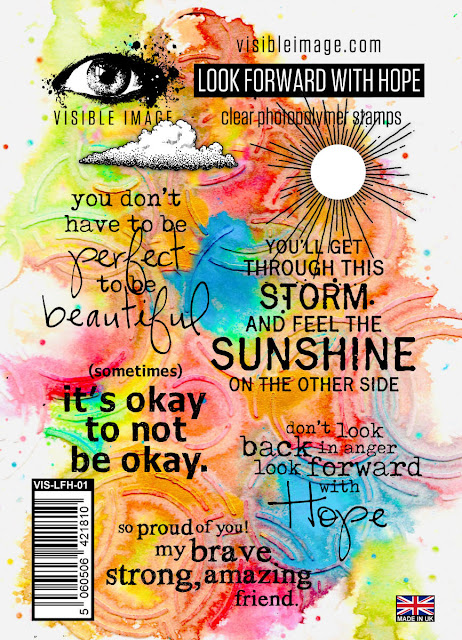
with a sentiment from the Look forward with hope stamp set.
.jpg)
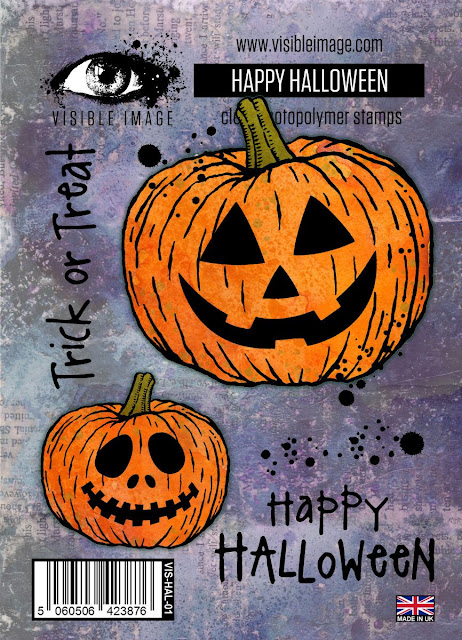
The Halloween card was made using the awesome Happy Halloween set.
To make things simpler I have numbered the 2 leaf friendship cards,
Card 1
and Card 2
This is how they came together;
I used 300gsm Pink Frog smooth white card to make card 1 and Daylor Rowney 250gsm mixed media card for card 2. These are my personal preferences for stamping.
Trick; You need to use smooth cardstock or the smoother side of mixed media card to get a clear stamped image. As long as your card can take water you can mix and match. You can use using thinner card but you need to try it out. Over the years I have found my own favourites and some are very cheap card. Don't be afraid to try different types and brands and find your own personal preferences.
First I stamped my design onto each piece of card. I stamped 2 small leaves and the sentiment first.
Trick; the ink you use for stamping is also important if you want a clear crisp impression. Pigment inks are best but take time to dry. My go to stamping ink is Versafine Clair. I used Nocturne for these cards.
Treat; try clear heat embossing your stamped image. It provides a smooth shiny and clear surface which also resists any extra inks added. I would also recommend using super fine clear powder particularly for heat embossing sentiments.
This is the stamped leaf design.
Tip; As I chose to decoupage the middle leaf using a cut out one on top it does not matter if your stamping overlaps. This eliminates the need to mask, which personally, is a technique I rarely use.
I then chose these 3 autumnal inspired distress ink colours.
For card one I pressed a little of each ink piece of acetate.
Tip; use the clear carrier sheet that your stamps are attached to.
Spritz on a little water until droplets form.
Then press over several areas of the background.
Trick; to avoid smudging the wet ink use a heat gun to carefully dry your background (or just leave to air dry).
Treat; there is a big difference between a heat tool and an embossing gun. If you want to take your crafting to the next level it is worth investing in both. Although both give out the same heat a heat gun diffuses its heat and does not move the inks. An embossing gun has a very concentrated point for heating, designed to melt embossing powders. If you use an embossing gun to dry inks over an area where an image has already been heat embossed you risk melting the existing embossing.
Next I went through my stash of backgrounds made using book pages and distress inks to find something suitable for "decoupaging" my large leaf. I chose these 2. I stamped a few of the large leaves and cut them out.
Trick; store any spares you don't use with the stamp set. They are then ready made for your next autumn leaves project.
Because I had already stamped the large leaf on the card I didn't need the stalk, so I cut them off.
Trick; when fussy cutting try to move the card not the scissors.
Trick; have a background making session occasionally so that you always have something ready for when you want to create. It is important that that inks are dry too so is this super useful and a time saver.
Treat; I love using book pages to stamp on. They add a lovely extra "vintage" twist to mixed media makes. But always ensure you read the text so that there is nothing embarrassing when you adhere them to your projects! I have an old copy of "The tale of 2 cities" my Hb gave me years ago. Sticking the pages onto thin paper also helps to give them some extra body.
I then adhered a leaf onto card 1.
and finished off with a few sequins.
Treat; adding a few sequins or gems are great finishing touches for your card making. Think about their placement before you stick them down. You might need to re arrange for the best effect
For card 2 I added the same 3 inks but used a circular blending tool for their application.
Trick; the newer more domed blending tools make ink blending much easier. If you find using regular distress inks hard to blend (it does just take practice) try the oxide version, which are easier. However, personally, I like the vibrancy and translucency of regular distress inks.
Treat; add a few spritzes of water to the background and blot off with paper towel. It removes some of the ink and gives a very interesting bleached effect and also mixes the inks a little.
1 added a large leaf over the stamped one in the same way as card 1.
Treats; put a small piece of foam pad under the top of the leaf to raise it slightly and add some drops of glossy accents for some more finishing touches. These treats give more dimension to your card.
For both cards I matted onto black card and then a white card blank.
Trick; using a black card matt makes the cards "pop". (Dark red and dark colours will also work well). Inking the edges with a dark ink and even distressing (see card 2) using a distress tool or blade of your scissors all add extra interest and texture.
Treat; try to be accurate when you mat and mount your cards. Cards which are "wonky" detract from all your hard work. Use premium card blanks too if you would like to "elevate" your card making. Flimsy cards fall over and bend.
Here are both finished cards together.
So what did I do with one of the spare leaves...well of course I had to make a quick and simple Trick or Treat card didn't I!
I used black card for the background. I cut the leaf out with its stalk intact this time.
I found a ready made pumpkin left over from a previous project and simply stuck him under the edge of the leaf, added some white dots using the stamp in the set and picket fence distress ink. I then stamped and heat embossed the sentiment using sparkly white embossing powder.
And in a few minutes I had an extra card....
Trick; use an antistatic bag if you are using glittery embossing powders on black card. It stops all those stray flecks of powder sticking, which can spoil a finished card.
I really hope you enjoyed my crafting tricks and treats in this post. I am hoping that, particularly for new paper crafters, they might encourage you to try some new techniques. For those seasoned card makers out there I hope you might also have enjoyed a few treats here today.
If you have any crafting questions that you would find useful to be answered in similar posts please let us know.
Enjoy your Halloween....and make sure you have enough treats for the Trick or Treaters...boo to you!!
I will be back with my "usual" design team post on 4th November. It's a children theme and I have something very different to share.
Bye for now,
Jane x


.jpg)


.jpg)


