Monday, 13 December 2010

Crackers for Christmas

This post is in collaboration with the wonderful Mia in Finland and her Christmas Calendar. Please pop over and visit her delightful blog, she is posting a Christmas craft item every day until Christmas. For  my contribution I offered to share how I make my Christmas crackers. Perhaps I may even inspire you to have a go! Mia has not seen crackers before so for some of you this may be something quite new. Here in the UK they have been around since 1847!

My Christmas table would not be complete without having a cracker at every place setting. We always pull our crackers just before we eat and put on the silly paper hats and read the silly jokes. They never fail to amuse.
I have always loved pulling crackers on Christmas Day and finding the jokes and the small gifts inside, they are a great source of enjoyment. Over the years though I have found it difficult to find ones that are suitable for everyone who sits around my table. I started buying "fill your own" crackers but then a  few years ago I decided to start making them from scratch and they have "evolved" into the ones I make now.

Tom Smith invented the cracker in England in 1847 and there is a very interesting history if you have a look at the link posted here.

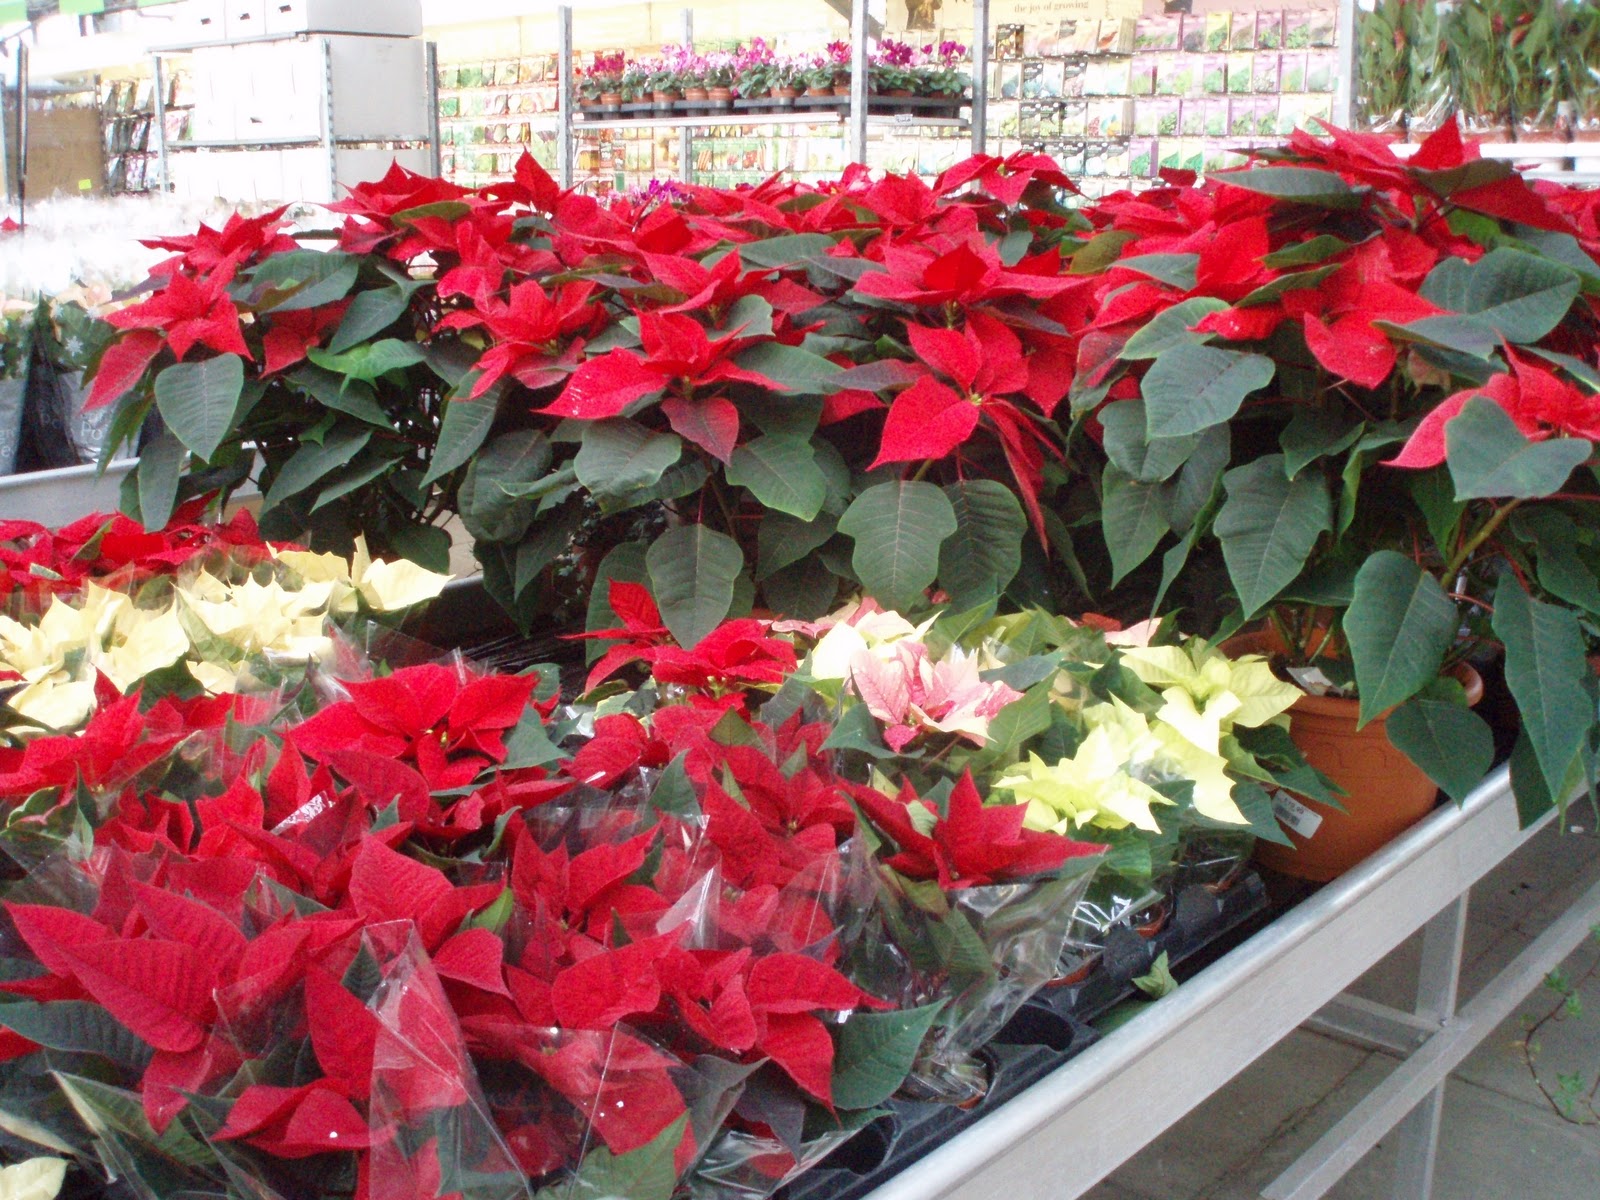
They are still sold in the shops today, these photos are from a display in our local garden centre.

To make my home made variety this is a list of the things you need.

1.Inner cardboard rolls/tubes found in kitchen rolls (this longer length is better that those from toilet rolls).
2. Crepe paper, 1 or 2 colours.
3.Cracker bangs, found on EBay or in craft shops like Hobbycraft.
4.Paper hats, as above.
5.Jokes... there are lots on the Internet.
6.Double sided sticky tape.
7.Foil tying ribbon.
8.Decoration for the front, of your choice.

I start collecting kitchen roll centres from late autumn and I use these both for the centre of the cracker and for forming the end pieces. Here follows my way of making them, please use it as a guide as no doubt I have omitted some of the process..I never did get onto "Blue Peter" as a little girl!

First cut a 1/4 off one end of a cardboard tube to use as the middle section (the kitchen roll middle is just a bit too long to use in its entirety)and place it between to 2 full length tubes. This middle section will contain the joke, banger, hat and present. The other 2 tubes are just used for forming "pull" ends, the paper tends to collapse if you do not have a former in place. ( NB Please note in the photo below the top tube should also be a kitchen roll length, I didn't have enough at the time I took the photos, a toilet roll tube can do the trick too.)


Unroll the crepe paper and lie it full width and then cut 2 pieces of crepe paper that will meet around the middle of the tubes.This can be either a single colour or 2 as I have shown here.
Then cut a small piece off the end of the colour paper that you want for the outside. I use pinking shears to give a pretty edge but ordinary scissors are fine. 2 sheets of crepe  paper works best as it rips well when you pull the cracker. Only using 1 thickness makes it too flimsy. Other types of paper either rip too easily or you struggle to pull them as they are too thick.


Take the middle tube out and fill it with a present, paper hat, cracker bang and joke. If necessary tie them with string or a rubber band to keep them in a bundle. Take care that you keep the cracker bang hanging out of either end of the middle tube, it has a great tendency to slip out! Put this filled tube back between the other rolls as in the photo above. The cracker bang  will protrude slightly into both the end tubes. The other contents should be kept inside the middle tube.


Have the shorter length of  paper on the outside and then roll up the papers around the 3 kitchen rolls . Seal them with sticky tape.

Next carefully pull one of the tubes out a little way to make a small gap. You need to feel the gap under the papers, so that you can tie off one end with curling ribbon.Repeat this at the other end so that the filled middle  tube becomes a kind of "sausage", sealed away ,with 2 open ends for pulling.


You can trim the paper ends if they need neatening up but be careful not to catch the end of the cracker banger which is inside. At this point it's also not a bad idea to write some small initials somewhere on it so that you know whose cracker it is! I put this underneath the cracker out of the way.

Now that you have make the basic cracker you can put any decoration on the front. These are just some suggestions.


I tend to try to match my crackers to the serviettes I have bought to use on the table for that year.These are my serviettes I have chosen this year featuring a tree with presents.

I decided to use green and red crepe paper and then to pick out the gold as an extra  wrap around the cracker (any wrapping paper works well). I have not quite finished the 8 that I need but here are 3 of them finished.

These will be sitting on the table on Christmas Day.

One final word of warning when making these................try to keep any naughty cats away as they SO love batting the paper,string etc-LOL


Naughty Billy, he just cannot resist getting involved.

Enjoy your crackers with your Christmas dinner, either shop bought or home made I am sure they will go with a bang!

Bye for now,

Jane (plus her assistant Billy) x

Friday, 10 December 2010

15 days til.....................

The days are flying by and this is my 7th Countdown to Christmas post. Today I would like to share our Christmas tree traditions. Since I was a little girl we have always had a real tree at home. When my Hb and I married even for our 1st Christmas we had a real tree in our little flat which almost filled our tiny front room, but it was so important to us to have one!
Last  weekend was the traditional weekend that we buy our Christmas tree, usually the 1st Saturday in December. We have a local nursery which always sells top quality trees and ours lasts perfectly right until its taking down on 12th night. This was our tree in 2007......

My Hb and I took a trip up to the nursery and it was delivered on Monday.  Usually we have 2 trees, one in the dining room and a "chocolate" tree in the hall. However this year we are still decorating the dining room and our bookcase is in the hall where that tree would normally stand. So this year we have just bought the one for the dining room. We will hang our chocs from the stairs banisters instead I think where we have our Christmas cards displayed.

We always chose a Nordmann Fir for the tree in the dining room as its leaf retention is fantastic. We first bought this variety in the early 1980s before it really caught on in the UK. Everyone traditionally bought the Norway spruce and indeed as a little girl this is the tree we always had and by the new year it was usually quite bald! Our chocolate tree is often a rooted spruce.

This year all the trees up at the nursery were nestled among the snow!


We tend to buy a 7 feet tall tree as that fits our room perfectly. The lads in the nursery are always so helpful and get as many trees out of their sacking as you want to look at. We chose a lovely bushy one with plenty of room to hang all my ornaments on.


We also decided to go into the Garden Centre as rumour had it that there were some real live reindeer visiting...we were not disappointed and found these sweet creatures...


One little girl standing next to us ask her Daddy which one was Rudolph....


I think this must have been him as he stood up to say hello. Their antlers are fascinating, they look so furry.


After admiring the reindeer I decided I would like to buy a small poinsettia for the house. Unlike one of my blogging friends Vivienne I am not usually one for houseplants, unless they survive on neglect, but I do like to have a Christmas plant in the house.

There were lots of unusual colours


But I decided I would like the traditional red colour.


So we completed our purchases and headed back to the warm. Usually we would be decorating our tree on the Sunday but as it could not be delivered until Monday it will have to wait until tomorrow. I can't wait to get the ornaments out of their boxes from the loft and will be back with another post very soon to share them with you. Some of my ornaments were owned by my grandfather and go back to the 1930/40s. I also still have the very first ornament my Hb and I bought for our 1st tree back in 1981! I hope you are all thinking about decorating your tree soon.....
 
Finally today I wanted to share with you this most romantic Christmas poem, it appears in my Christmas compendium book and I love to read it at this time of year.....enjoy....

♥ Mistletoe ♥

Sitting under the mistletoe
(Pale green fairy mistletoe)
One last candle burning low,

All the sleepy dancers gone,
Just one candle burning on,
Shadows lurking everywhere:
Some one came, and kissed me there.


Tired I was; my head would go
Nodding under the mistletoe
(Pale green, fairy mistletoe)
No footsteps came, no voice, but only,
Just as I sat there, sleepy, lonely,
Stooped in the still and shadowy air
Lips unseen - and kissed me there.

Walter De La Mare, 1873-1956

Bye for now,
 
Jane x

**************************************NEWS*****************************
(I am adding an edit here on Saturday afternoon as I have just heard the most wonderful news that dear Tom proposed to our darling daughter whilst at the summit of Kinder Scout in the Peak District today....I dedicate the above poem to them and send them SO much love and congratulations. What a wonderful Christmas present this is for us all xx)

     **********************************************************************

Tuesday, 7 December 2010

The Man in the Moon

My Mum loves the Man in the Moon and I must admit so do I. There is nothing more special than seeing a full moon in a clear starlit sky with  his face grinning down. For my Mum's  recent birthday at the end of November I thought I would commission another little ACEO from the very talented Vita . If you remember she painted a beautiful mermaid picture for when my daughter's boyfriend went to sea. (News on that front is that after after 3 long months he  finally came home last Friday).

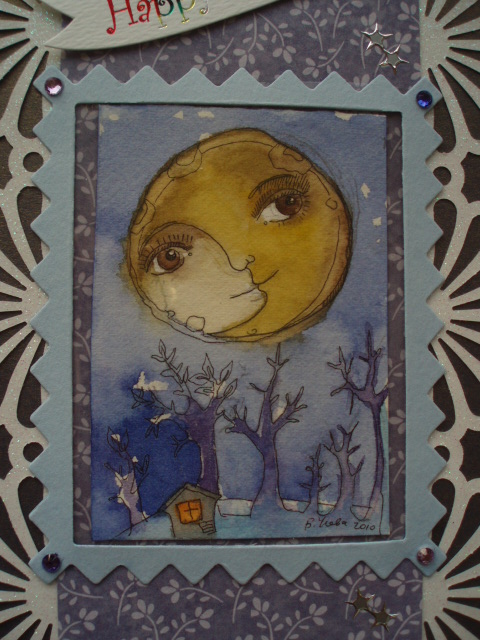
I thought you would like to see the wonderful moon ACEO that Vita painted for me....


I used the little painting to feature in the birthday card I made for my Mum.
I framed it with a card die cut frame using  little jewels at the edge and then mounted it on a deep blue/purple card. I also used some other die cut frosty card borders and finished it off with a Happy Birthday banner and some silver peel offs to read MUM.


This was the finished card and I was pleased with how it turned
out. My Mum loved it and when she has finished with the card
she is going to take out the little painting and frame it.


Also keeping with the Moon theme for my Mum's birthday I managed to commission  a wonderful Man in the Moon lampwork glass bead by a very talented English lampworker called Emma. She had never made a man in the moon before but felt it would be a great challenge and she managed to create the most wonderful bead.

I decided that he would look best on a vintage style brass chain and this is the finished piece that I gave my Mum for her birthday present.

As always I had my trusty camera assistant at hand-
Billy does like to get in on the action!

I was so inspired by this wonderful bead that I commissioned Emma to make me a "Blue Moon" and here is mine.

                                                           Stunning! I love wearing him.

Whilst I am on the subject of the moon I wanted to tell you about a recent  phenomenon which occurred this year, during the Autumn Equinox. It was the appearance of a Harvest Moon. This is a little know event which rarely occurs.  There is a very interesting article about it here


On that night, 22nd September we were lucky enough to have a fairly clear sky here in Surrey. Most of the UK that night was covered in cloud so the Harvest Moon was only visible in some area. I managed to take the following photos out of my bedroom window.

The sky had the most wonderful glow to it and clearly visible to the left and below the moon was none other than Jupiter shining brightly.
It really was a sight to see and I am glad I did not miss out in this once in every 20 years or so phenomenon.

How lucky we are to have a sky to look up into and watch the stars twinkling and on occasions the Man in the Moon smiling down on us .... or is it just me who sees him ?? ;0)

(Remember to have a peep at my ** days til....... posts we really are well into the countdown to Christmas now!)
Bye for now,
Jane x