Hello it's time for my fortnightly blogged design team make for Visible Image. Last month, with their blessing, I started up an "official" Visible Image Artist trading card (ATC) swap over on the customer page. I pair up participants who create an ATC using the theme given and then post to one another. It was a great success and everyone voted to continue it as a regular event. If you like trading ATCs I highly recommend you come over to the customer page and join us. So far 53 Visible Image fans worldwide have take part. Some of the design team (including myself) also take part.
Above is a selection of the ATCs I have made in the past and below is the swap I made for the first "just be you" swap.
I thought today it might be useful for people who have either never heard of or don't know where to start, to show from start to finish my way of making an ATC. This post might also be useful for future reference. Please bear in mind that this is how I personally approach my ATC making and there are many different ways of doing so.
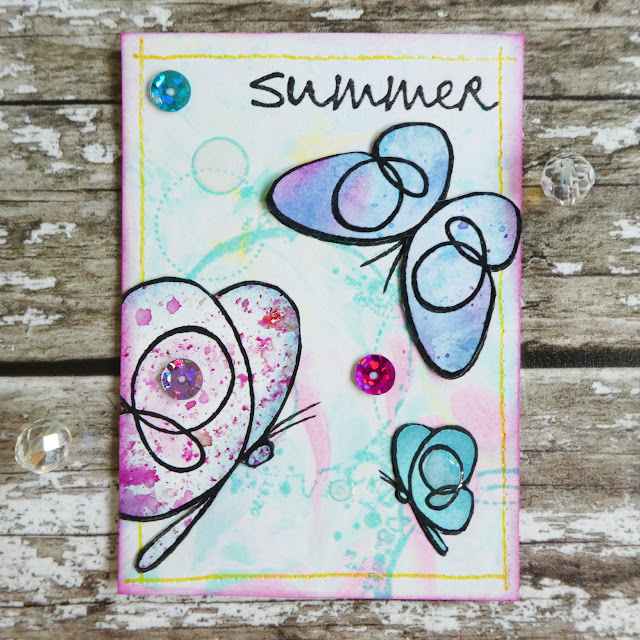
The theme for the current swap is "here comes summer". The swap on Facebook is for one ATC but I always chose to make 4 as I keep one, I send one to my 7 year old crafting granddaughter and I swap one elsewhere.
The first thing I did was to choose which stamp sets I wanted to use for the theme. I decided to work with the Summer wings butterflies
and to add some background interest to my ATCs I also chose to use the gorgeous grunge circles stamp from the Butterfly effect
I stamped out lots of the 3 sizes of butterflies and cut them out. They are so useful for adding to any project that it's always a time saver to have some ready to go. I cut off the antennae as I would be re stamping the whole butterfly again on the ATC.
To me what makes an interesting ATC is lots of little details. I often use my sewing machine to sew around the edges but you can also use a "faux" sewing effect with a sewing marking wheel. Just use it against a ruler. I use the metal edge of my ruler.
It leaves holes behind like those from a sewing machine.
You can then use a pen to go over the line and it looks like stitching. Try to not be too neat as it looks much more realistic! I used a gold pen this time but black and silver also looks good.
I added some ink to the edges.
I then played with placement of the butterflies. When designing odd numbers always look better than even and 3 of something is very pleasing to the eye. I used 2 large and 1 small for my 3 butterflies. Once I was satisfied with the placement of the butterflies on each card I stamped them in Versafine.
I then adhered the butterflies on top.
For finishing details I added a wink of Stella clear glitter pen to parts of the wings and some of the small circles and then Glossy accents on top for real sparkle.
The final touch was to add some co ordinating sequins.
This is the one sent to my Visible Image group swap partner
and one final photo
Bye for now,
Jane x
Before I go I just want to mention that FeedBurner are removing their "follow by email" function from Blogger at the end of the month. I have removed it from my side bar already. I have over 1,000 existing lovely email subscribers who I would hate to loose. If you have a Blogger account and currently get notifications by email of my new blog posts I would love if you would just hit my "follow" button on my side bar. My posts will then show up in your reader list feed. Otherwise if you follow me on Instagram, this is me here; or you can find me as @jane.tyrrell I will always mention there which of my posts are blogged. Thanks so much for all your support, Jx


Love the pretty butterflies ... these little cards are such a good idea!!
ReplyDeleteHappy new week my dear,
V x