During lockdown I have had plenty of extra time at home and have spent many hours in my studio getting inky. As you all well know getting inky is my first love and the creative muse for all of this is Tim Holtz. I fell in love with his distress inks many, many moons ago and was even lucky enough to attend one of his workshops in the UK a few years back.
During lockdown Tim has given 10 yes 10 weeks of 2 hour+ Facebook lives where he has been demoing many of his awesome techniques and products. His enthusiasm even after all these years is so infectious. He just adds them to his blog if you want to watch them on catch up. I have loved every single one.
2 Saturday's ago he started a "Question and answer" format and started off with my first love, original distress ink pads. The one thing Tim keeps saying is to "just play". With his voice ringing in my ears, as I am not able to sell my cards at moment as Dotty's is of course shut for now, that is exactly what I have been doing. Instead of making cards I have gone back to making some tags...just for fun.
And wow what fun it has been. I also belong to another Tim inspired Facebook page and the lovely Zoe who runs it ( she and I met and became great friends at the same Tim UK workshop a few years back) challenged us to use just ONE distress ink colour and make something in advance to the new colours coming out on Wednesday.
I embraced this and have shared a few tags over the last few days and everyone both on Facebook and Instagram have been so kind and left such wonderful feedback. Even Tim kindly commented on one of my IG posts. I also shared them on another stamping group I am a member of which sparked the same challenge. A lot of people have been asking how I made them and I had lots of messages too.
So today I thought that I should pay back some of the amazing inspiration and kindness that Tim has shown over the last 10 weeks and rather than just make I would take some process photos and share a step by step of how I made the backgrounds for my recent one colour tags. I found a very simple format that worked very well for me and I could make a tag from start to finish in about 40 minutes. This is just me, there is no right or wrong way but this is how I made them.
OK first choose your colour (I have already shared makes with Dried Marigold and Mermaid lagoon) so today I went with Abandoned coral.

I used these heavystock mixed media tags but I often make my own using his tag die. I use everything from white card, watercolour, black, kraft, glossy etc. I used these heavy stock tags for these particular techniques as there is a lot of water involved and some papers collapse at the thought of getting so wet.
My makes use 2 types of background, the first using the age old wrinkle free technique which Tim resurrected in the FB live. I have not used this this for sooo long it was such fun to get out my old travel iron again. This is my version.
Scrunch the tag then flatten it out again roughly and rub over the surface using the ink pad direct to paper.

Spritz on some water and allow it to wick for a moment. It's fun seeing the ink move.

With a hot iron smooth out the tag again, ironing on both sides.

Make sure you iron on a heat proof surface and DO NOT use your best iron unless you want to distress your clothes too!
For the 2nd background I just pushed some ink onto my craft mat, spritzed with water and then picked up layers of ink, drying with my heat gun between layers.


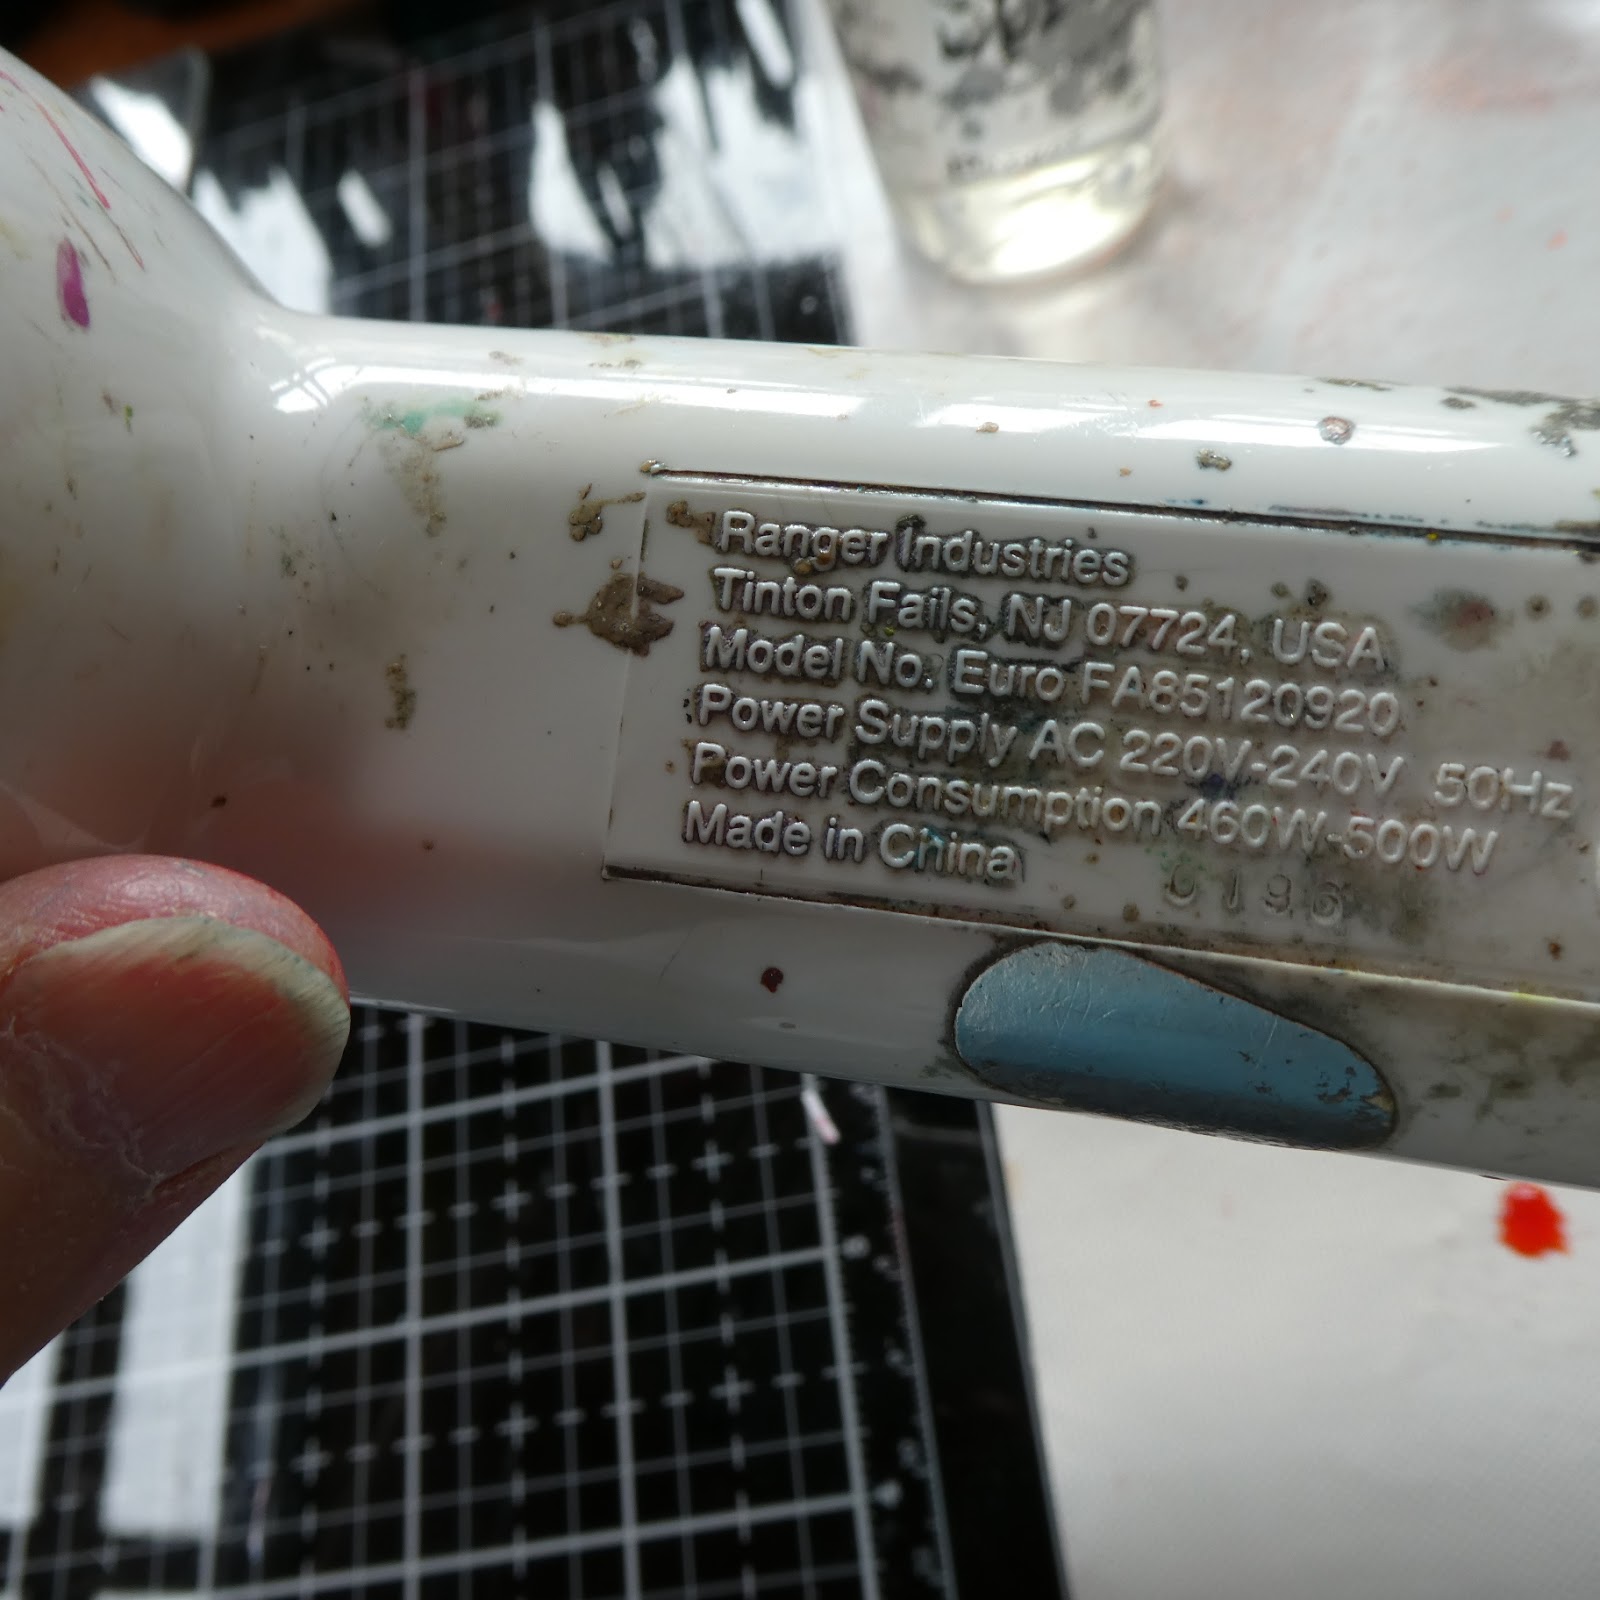
Just look at how old my heat gun is..it is an original Ranger one and is at least 20 years old! It is so well loved and used nearly every day.
Then for the rest of the process I did the same for both tags.
I added a layer of stencilling, using my rose stencil.

I added some background text stamping, mine is from my Lady Rose stamp set.

Here are my 2 finished backgrounds.

I then die cut and embossed my dragonfly and butterflies cut using Tim's Bigz dies and added some ink either direct from pad or by watercolouring.

And last but most important for me I chose some words from my small talk set....I just love these tiny stickers as for me they finish everything off.

So here they are completed

with a couple of close ups;


and one final shot.

So there you have it. Please note that no one has asked me to do step by step and I am not in any way at all being sponsored by Tim or his manufacturers. I genuinely love my inks and products and use them nearly every day of my crafting life.
As Tim has been so very generous with his time over 10 weeks I thought this was the very least I could offer back to the many crafters who also love what he does.
I hope this has been of some help and if there are any questions please fire away. Please remember that this is my very individual take on making these 1 colour distress tags. There are so many ways you can do this......just go on, have a play and have fun.
and in Tim's small talk words;
Live simply, give generously and practice kindness.
Thanks so much for stopping by today.
Stay safe and stay creative,
Jane x
Fab step by step Jane & thanks for all your work ! Sid xx
ReplyDeleteLove dthe step by steps and learnt lots along the way.....Thank you x. Fabulous tags and with only one colour....x
ReplyDeleteYou've made me want to try a monochrome tag. Love your step by step and the tags are beautiful :)
ReplyDeleteThese are scrumpy. Off to have a look at Tim’s Blog. Between him and watching Brabara Gray I won’t be needing mojo when she finally decides to reappear. Hugs Mrs A.
ReplyDeleteYour tags are lovely and the tutorial clear and generous thanks x
ReplyDeleteI love your tags and I was envisioning having many of them hung in a display on the wall in your craft studio! ((hugs)), Teresa :-)
ReplyDeleteYour tags are fabulous, Jane. Thanks for sharing your step by step tutorial. xx
ReplyDeleteThey are amazing Jane and its very generous of you sharing your techniques ... the scrunching up and ironing out is fascinating!!
ReplyDeleteHave a lovely new week,
V x
wow Jane, I and many others will definitely use your tutorial..and I have this stencil and tags and distress inks, oh I can't wait to play...hugs and thanks.xx
ReplyDelete[I use An iron for my foamiran flowers but now on a tag, it was well worth buying a cheap iron]
Beautiful! I may try this technique on something sometime. Thanks for sharing the idea. I'm so glad you can Zoom craft with Daisy :)
ReplyDelete